Newfields Winterlights 2018

This week we visit Newfields Winterlights in Indianapolis, now in its second year. With over 1.5 million lights, this is THE light display to see. Newfields is the Indianapolis Museum of Art and the surrounding grounds.
In this post I talk about photographing in the difficult lighting conditions we encounter at this time of year.

Winterlights Before Sundown
When you think of light displays, you probably think of nighttime. However, if you wait until total darkness to start shooting, you miss out on some great opportunities.
The above photo shows the Lilly House during Newfields Winterlights. This image is made after sunset, during what’s known as the “blue hour”. A couple benefits of having the ambient light left in the sky in this photo is that it throws some additional light on the primary subject (the house) and it adds some subtle color and texture to the sky.

Let Lights Stand Out After Dark
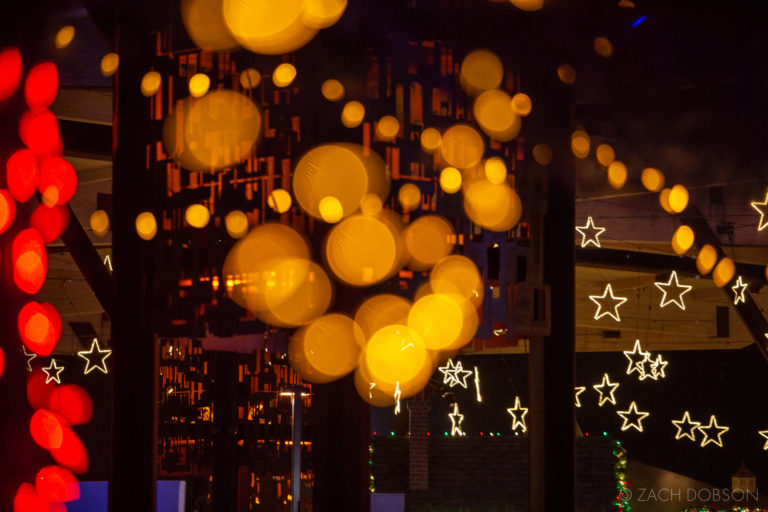
Once it gets completely dark outside, I like to take the opposite approach I talk about in the last section. I embrace the contrast of the lights against the darkness. In the photo above I found a line of sight where I have lights filling the frame at varying distances from the camera.

Bokeh, Bokeh, Bokeh
For the uninitiated, bokeh is the visual quality of the out-of-focus areas of a photo. People often ask how to achieve that “blurry background” (see photo below), but bokeh can occur in the foreground as well (see above photo).
People often assume that you need an expensive lens for this, but that’s not exactly true. The two most important factors are a lens with a wide aperture (f/1.4, 2 or 2.8) and the distances between the camera, the subject and the background. The foreground should be close to the camera and the background should be a good distance away.
For the image below, I am standing a few feet from the subject, shooting at a low aperture (f/1.4). As a result the background has a nice blur. For the above image I am standing just a couple feet from the lights in the foreground. My focus is on the tree in the background that is about 50 yards away, again shooting at a low aperture (f/2.8). A telephoto lens heightens this affect. For the image above, I’m using a 70-200mm lens at 200mm.

The image below, inside the Lilly House at Newfields Winterlights, shows how you can use both a foreground AND background blur in the same photograph. This image is shot with a 24mm lens at f/1.4.

Underexpose Holiday Lights
I typically underexpose images with holiday lights. That means I make the images darker than what the light meter recommends, so the image appears somewhat dark on the camera screen. If you go the opposite direction, you risk the lights being overexposed. When that happens, you lose the subtle detail in the lights and you can’t get them back. Sometimes overexposure is an interesting affect with holiday lights, but it’s better to do it purposefully.

Embrace the darkness of interior spaces. Expose for the brightest point and underexpose at that. Don’t use flash! Tape it shut if you have to. Flash will kill all the subtlety of warm winter lighting.
If all you have is a lens with a high minimum aperture (~f/4 or higher), well, I suppose your best bet is just shoot at a high ISO (1600, 3200) and see how it goes. If you have just a little bit of money to spend, there are a few options of lenses you can get to make low light photography easier.
Canon 50mm f/1.8 for $125 (new)
Canon 35mm f/2 for $240 (used)
Happy Holiday shooting!
Extra Credit & Extra Newfields Winterlights
How do you photograph the same thing more than once? Check out my Newfields Winterlights post from 2017 to see how the images compare.

2018 Holiday Events
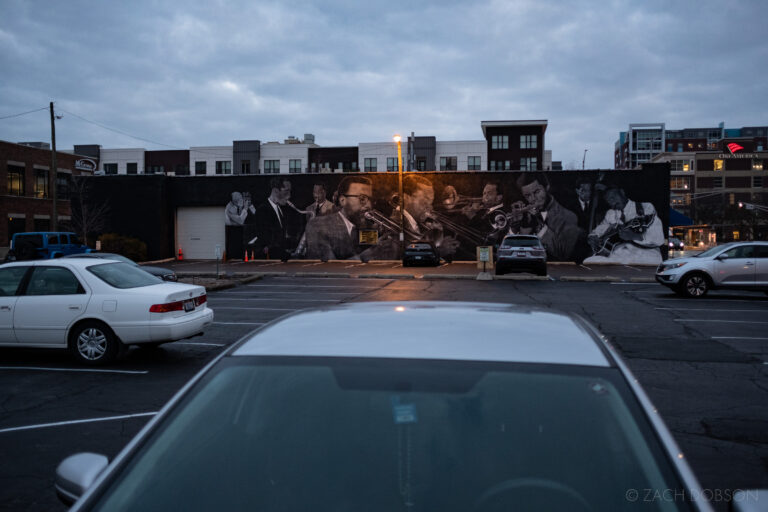
As legendary Hoosier Michael Jackson once said, “Don’t stop ’til you get enough.” So by all means, please enjoy our other posts from this season. Click the image below.


2 Comments