Low Light Photography: Intro
One of the most difficult aspects of photography is shooting in low light. However, with my documentary approach, it’s a skill I need in order to maintain the integrity of the subject material and avoid affecting the end result with my presence. Therefore over the past 15 years I’ve developed a series of practices that allow me to shoot in low light using only available light without compromising image quality.
Often people will ask me about low light photography situations, so I’ve created a series of three posts shared some tips. OR! You can also get the whole guide now as a PDF by entering your info below.
[wd_hustle id=”low-light-guide” type=”embedded”]
–
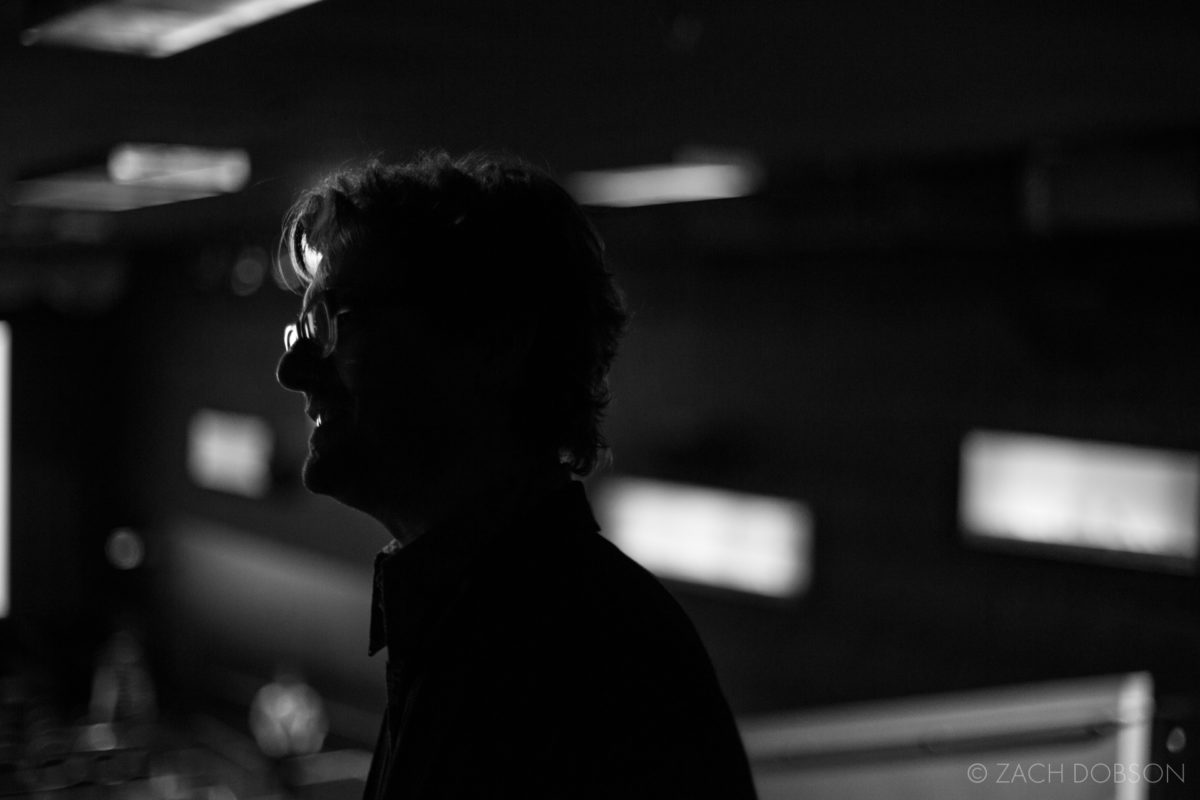
This first post is about gear. Subsequent posts address shooting technique and post-production. While I firmly believe that the gear itself is NOT the most important aspect, I want to address it in the first post so that the technique I describe later will be clearer.
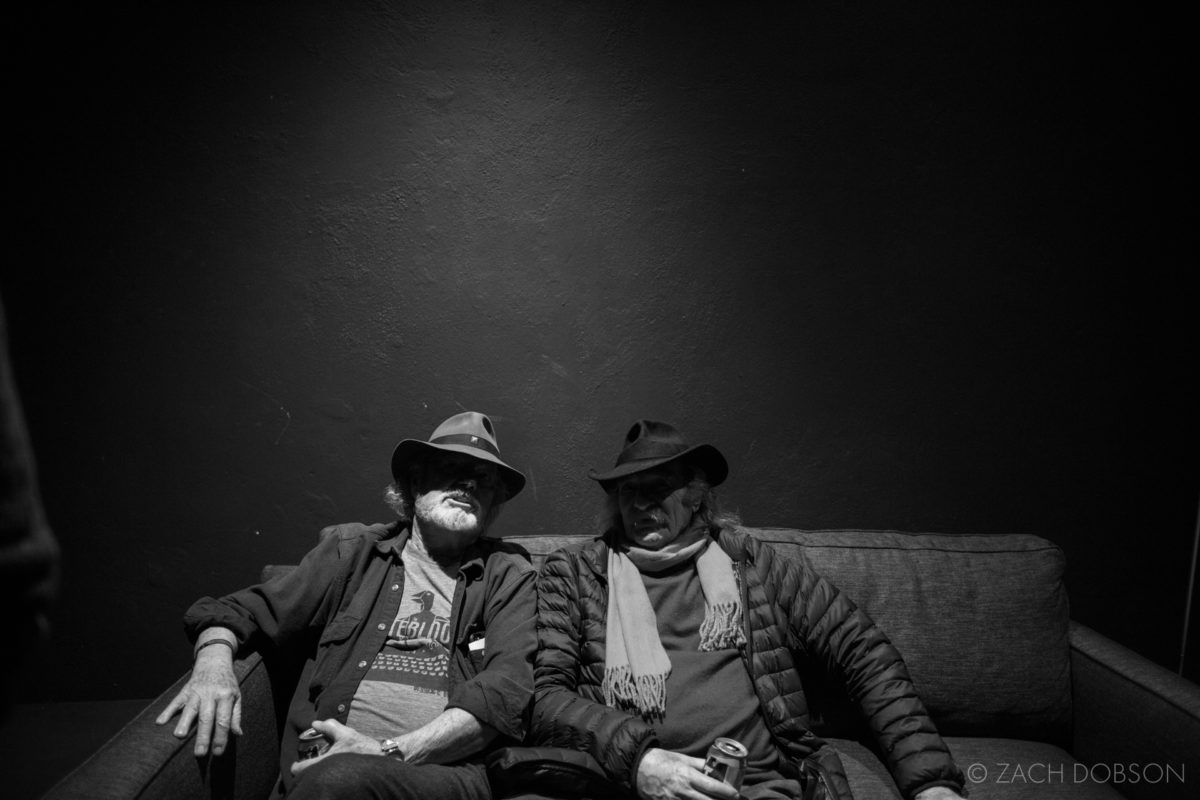
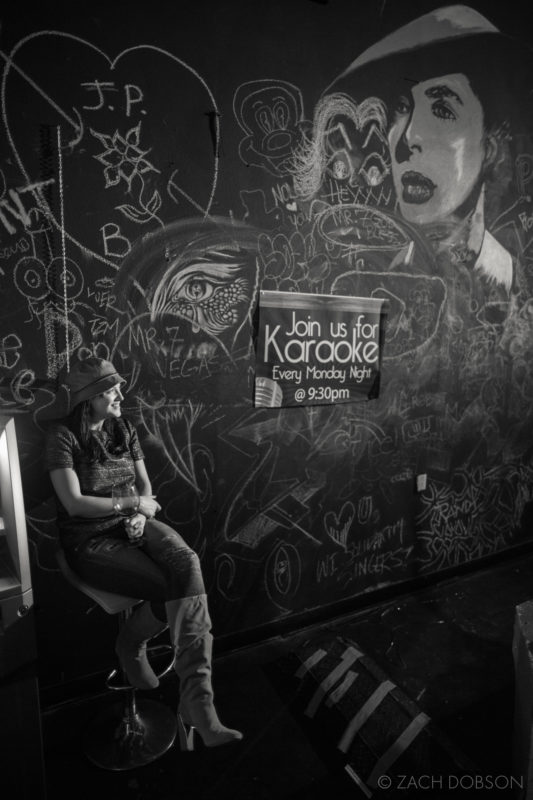
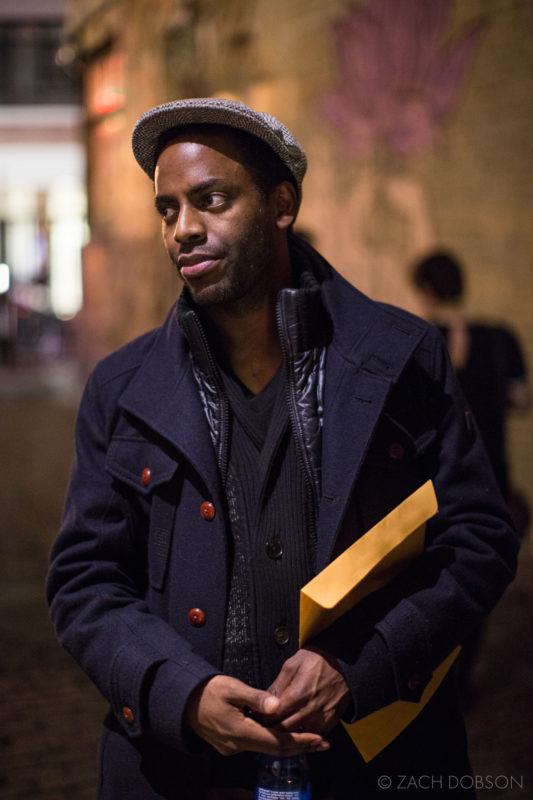
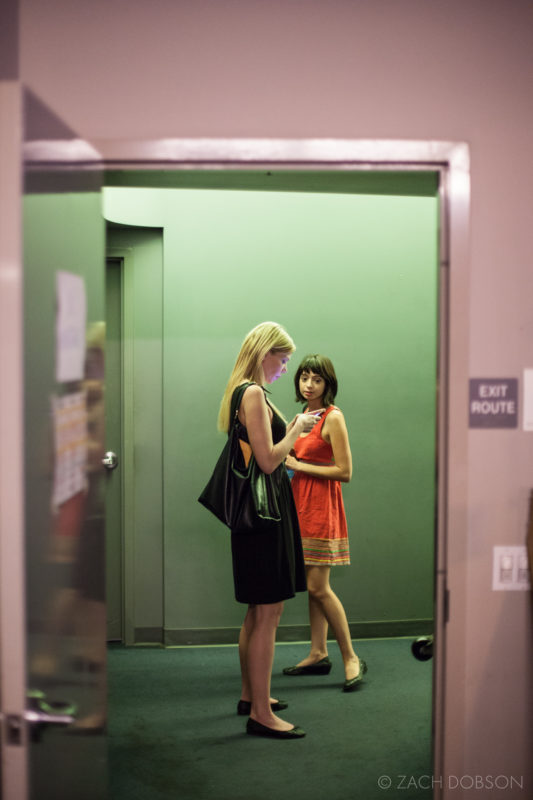
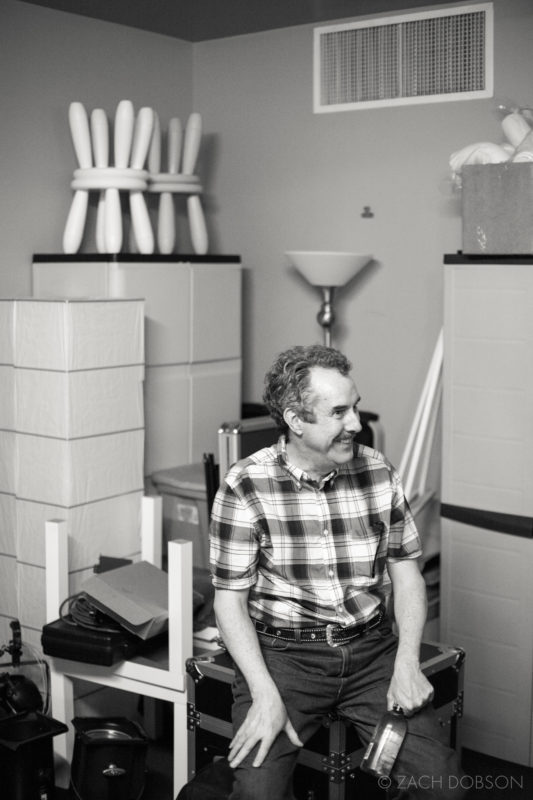
To illustrate these posts, I’m using images from the four years I photographed RIOT LA Alternative Comedy Festival. Recently I was going through some archives and enjoyed revisiting the experience of the great event, invented from the ground up by my extremely talented friend, Abbey Londer. I thought RIOT was the perfect backdrop for a discussion on low light photography.
Shooting exclusively with available light at night and in dark theaters and bars was a fun challenge at the festival and made for some really cool and rewarding images. Also, I’m a huge comedy fan, so that just made these gigs even sweeter.
Benefits of Using Available Light
First and foremost, I prefer using available light because it is significantly less obtrusive. As a documentary photographer, I want my imprint on the scene to be minimal. That means two things to me: First, I don’t want to affect someone’s experience by introducing flash. Secondly, I want to stay inconspicuous so I can capture authentic moments that are happening in front of me.
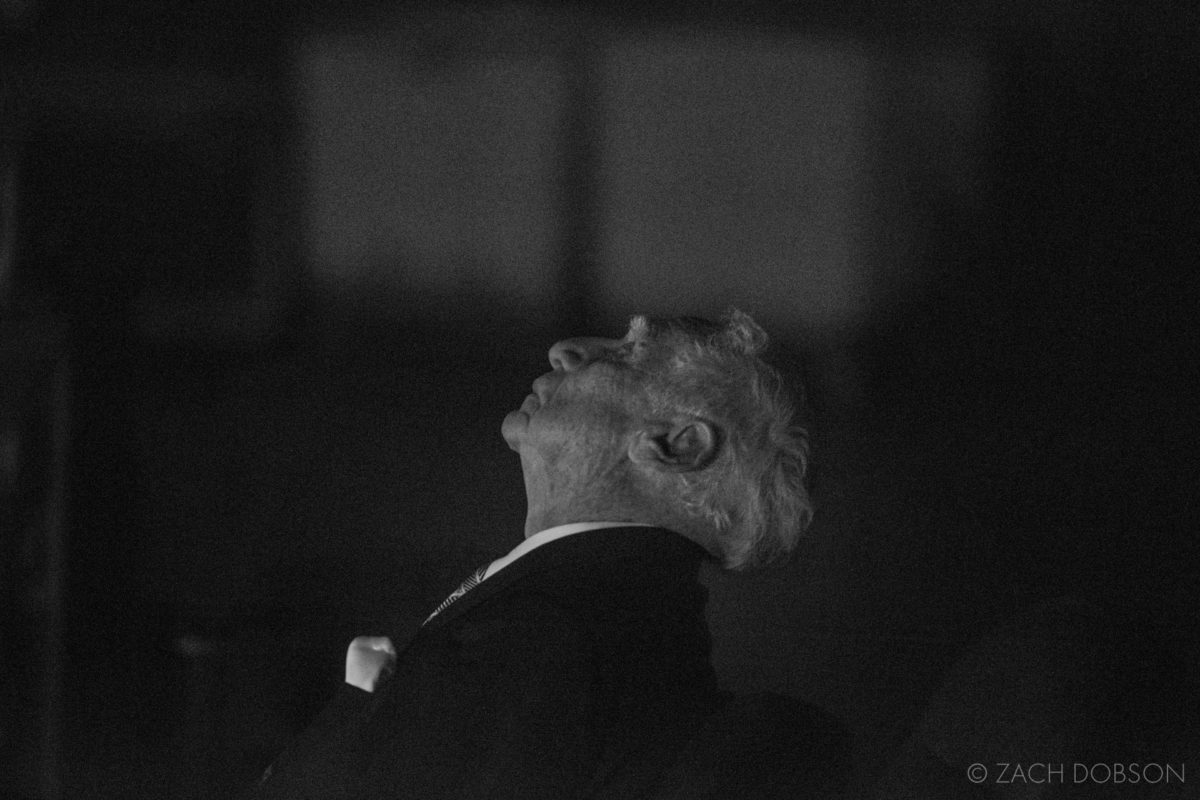
Popping a flash or strobe a few times every minute can be very distracting. I’m not the only one who feels that way. When photographing Mel Brooks at the festival in 2017, he specifically asked photographers not to use flash around him. As a result, I would have missed out on being able to take photos of him backstage and behind the scenes if I relied upon a flash.
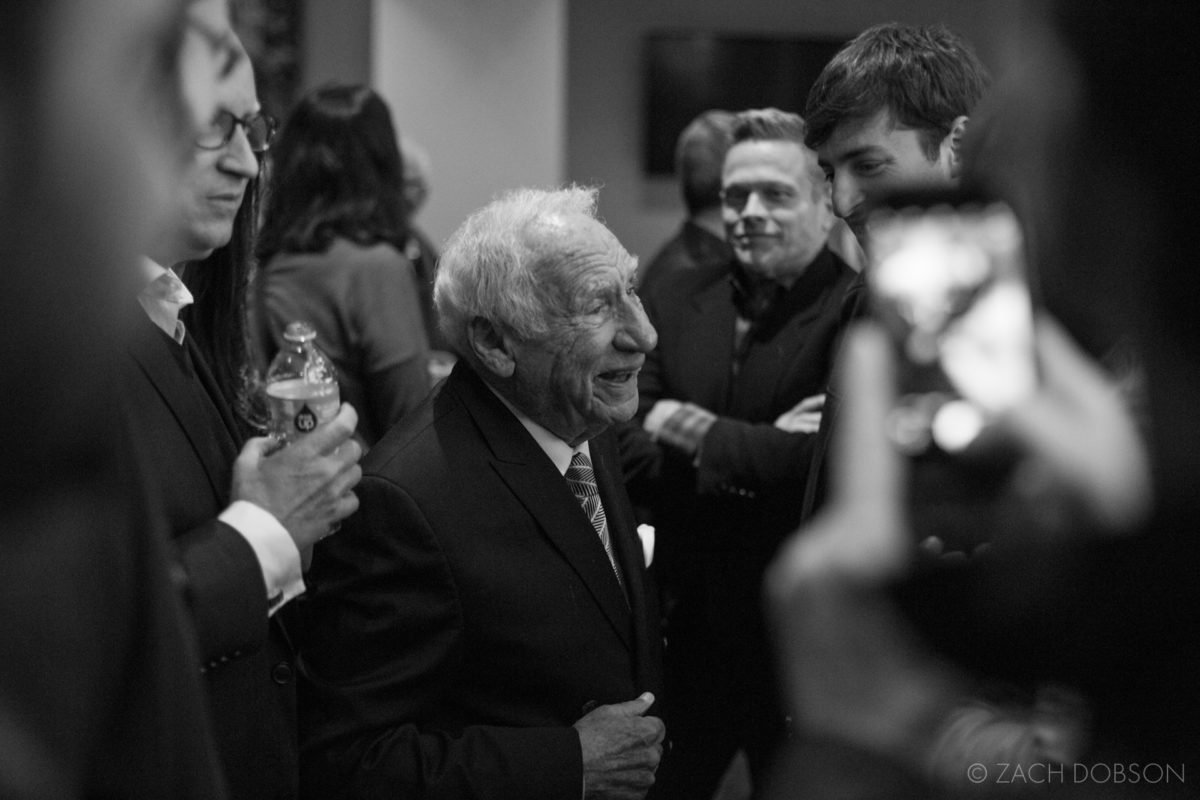
Similarly, I feel that the ambiance of a scene is lost once artificial light is introduced. Using available light allows the image to retain the same feel as the original setting. Richer color, more background detail and softer light are all benefits of shooting with available light in low-light photography situations.
Some professional photographers use flash to highlight a scene and allow viewers to see into the shadows. I like to portray the scene as I saw it. Therefore, it’s simply a matter of style and intent. I think the larger point is to be purposeful in your approach.
Gear
Let’s get to it. For the purposes of this discussion, I’m going to talk about gear at the level of an amateur who knows the basics of the technical aspects of photography: aperture, shutter speed and ISO. I want these posts to be accessible to the widest audience. If you any questions, whether more basic or advanced, leave them in the comments below and I’ll be sure to answer.
Lens
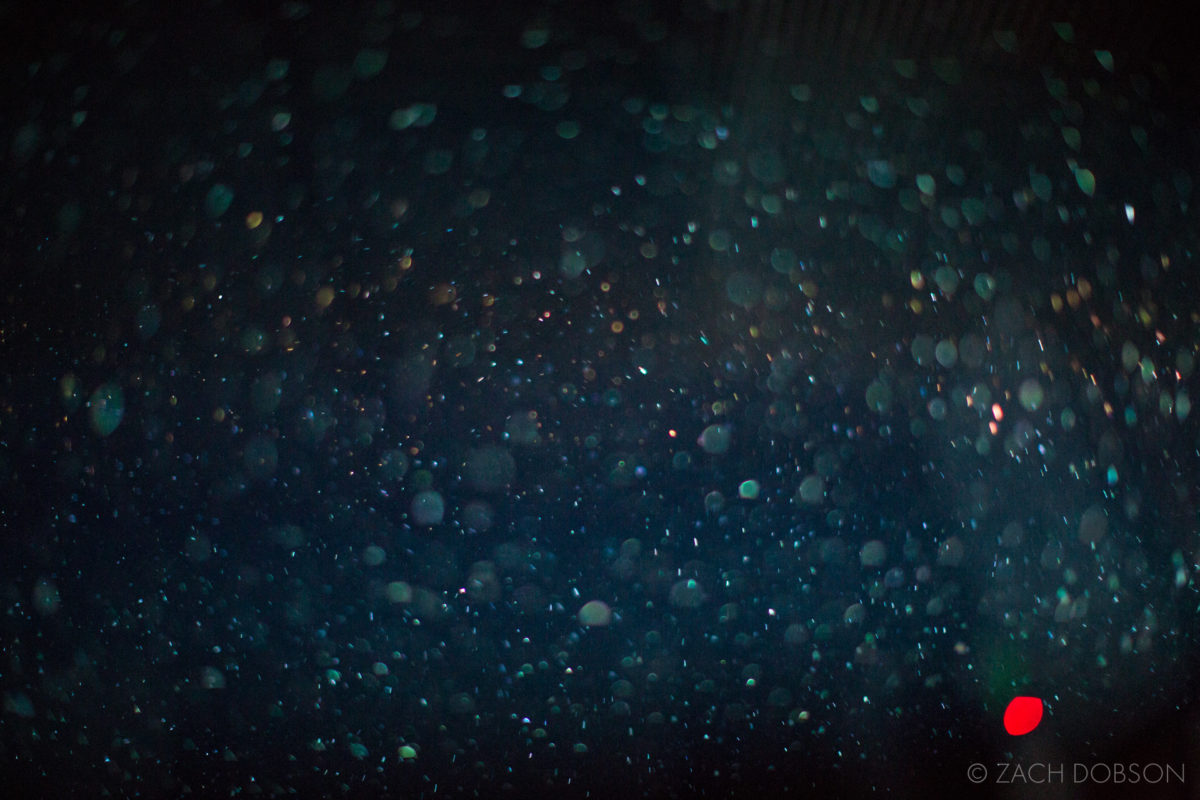
I think the most important piece of gear for low light photography is the lens. I prefer prime lenses, also referred to as fixed focal length or non-zoom lenses. This is because of their wider aperture. The best, most expensive zoom lenses are only going to get you down to f/2.8. Having a prime lens that is f/2.0 or f/1.4 gives you a significant amount of latitude in low light. And don’t forget the lower apertures give better bokeh.
(For more on bokeh check out this blog post.)
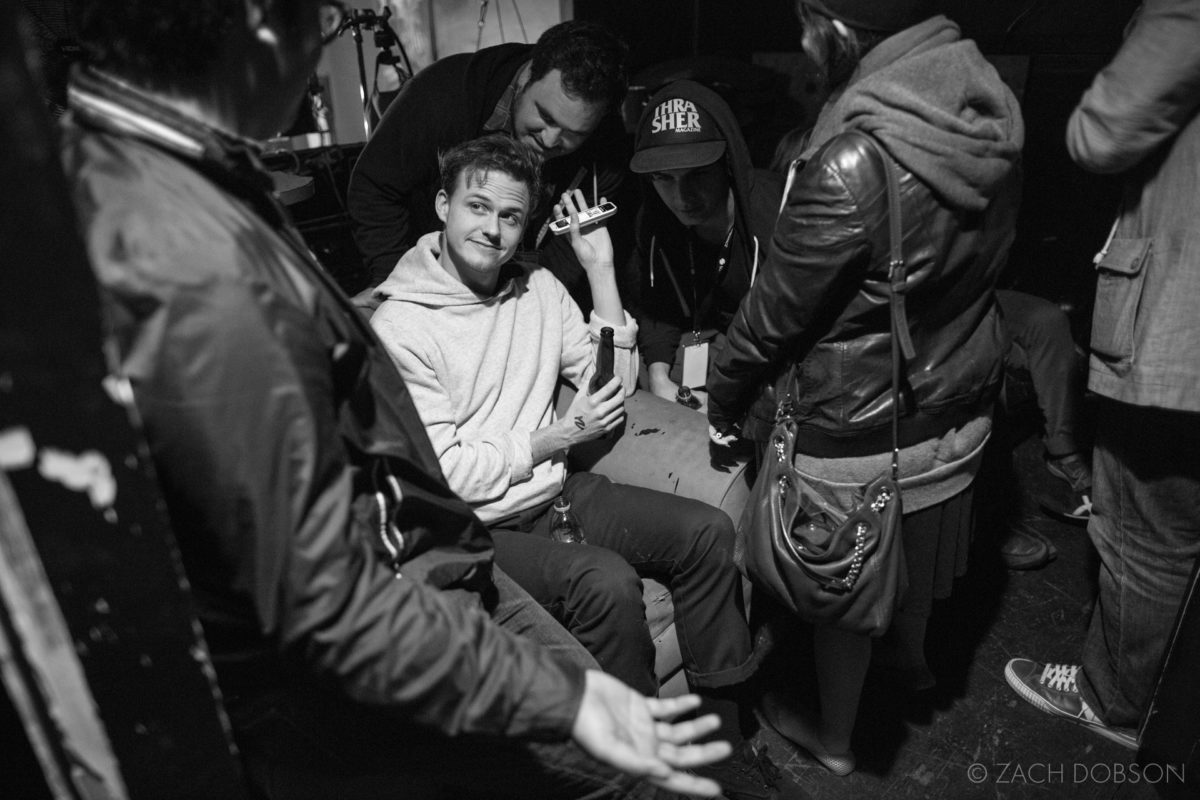
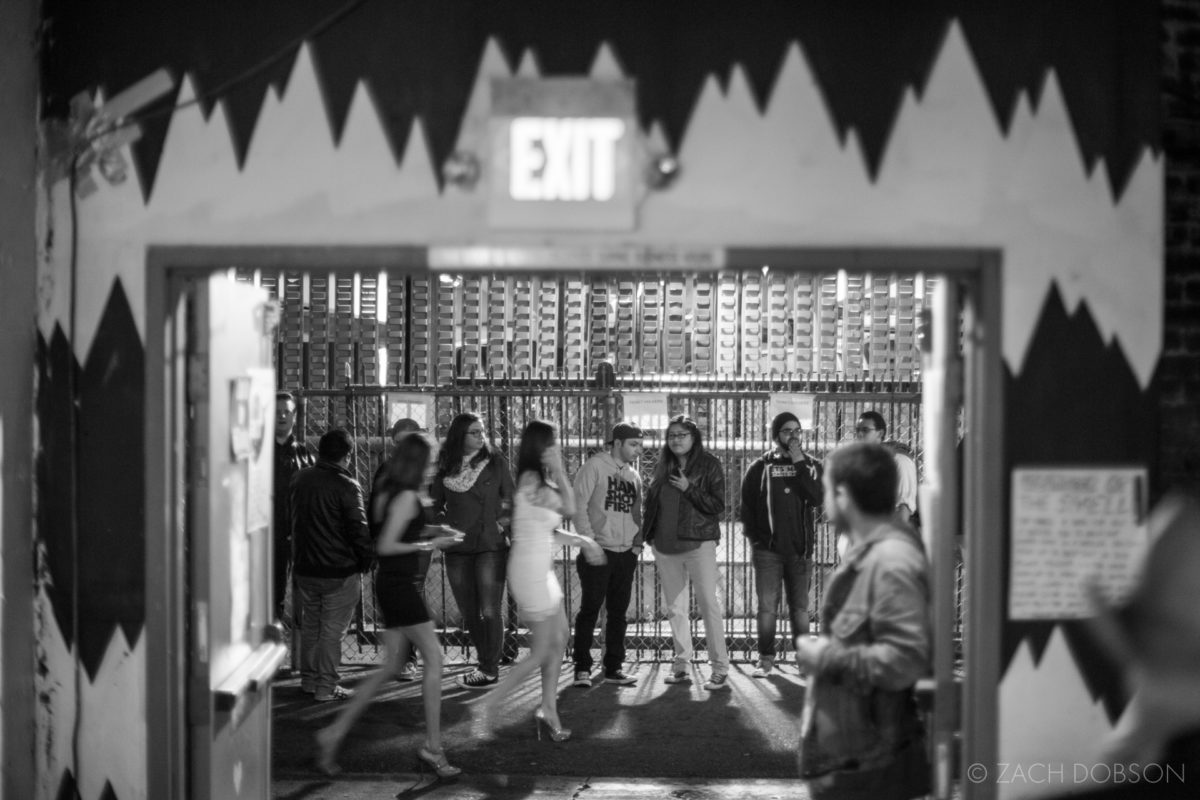
I also like wide angle lenses to give the viewer a better sense of being in the middle of things. That’s a stylistic choice. If you’re looking at one of my images and you feel like you’re standing right next to the subject, that’s because I was standing right next to the subject using a wide-angle lens. When shooting with two cameras, I typically use 24mm and 50mm lenses. When I shoot a single camera, I like to use a 35mm lens.
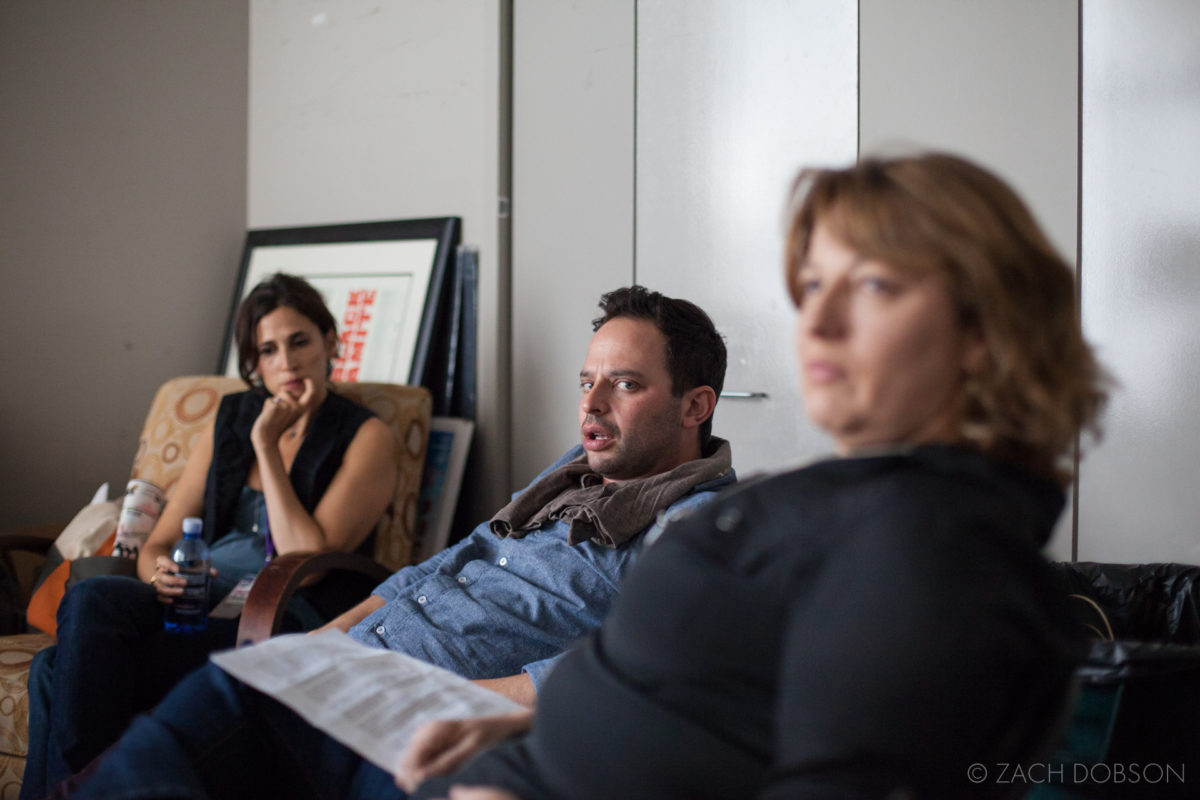
Keep in mind that if you have a crop sensor camera, you need to account for that when choosing lenses. For example, my carry-everywhere-with-me camera is a Fujifilm X-T20, which has a 1.5x crop factor. So, I bought their 23mm lens, which actually has the same field of view as a 35mm lens on a full frame camera.
Mirrorless Cameras
The camera market these days is exploding with mirrorless cameras. “Mirrorless” refers to the fact that these cameras don’t have the mirror that a DSLR has, which allows the photographer to look into the viewfinder and see physically through the lens. Mirrorless cameras have electronic viewfinders, which means you’re looking at a tiny LCD screen when you hold it up to your eye, or using the larger LCD screen on the back of the camera.
This has a few benefits that will come into play in the next post when I talk about technique. Using an LCD viewfinder with exposure preview in low light allows you to see the image as it will appear when you take it. This can greatly improve exposure accuracy when shooting in low light.
Another benefit of a mirrorless camera is that most of them can be made to shoot completely silently using electronic shutter mode. While this doesn’t pertain to low-light photography specifically, I have found it extremely beneficial when shooting in very quiet places where I don’t want to draw attention to myself, which coincidentally tend to be places with less available light.
Even though I just laid out a number of benefits for mirrorless cameras like the Fujifilm I use, I do want to point out that for my commissioned work I continue to use Canon DSLRs. I find that I can work faster and more effectively with Canon, especially in environments like sports. I’d give Canon the edge in image quality as well, although it may be negligible in most cases. All of the images at RIOT were shot with Canon.
Resources
Below are some links to some of the gear I’ve mentioned. You’ll see that prices vary quite a bit, but I made sure to include some “affordable” prime lenses ($500 or less). Prices are as of January 2019. Most larger camera shops have a used department that’s worth checking out as well.
*Denotes some of the gear that I use.
Canon Lenses
35mm f/1.4 – $1700
35mm f/2.0 – $549
*24mm f/1.4 – $1549
50mm f/1.8 – $125
*50mm f/1.4 – $349
*50mm f/1.2 – $1350
Nikon Lenses
35mm f/1.4 – $1697
35mm f/1.8 – $527
24mm f/1.4 – $1997
50mm f/1.8 – $217
50mm f/1.4 – $447
Fujifilm Gear
*X-T20 Mirrorless Camera – $700
23mm f/1.4 – $900
*23mm f/2.0 – $450
Rentals
I regularly rent gear from BorrowLenses. This is a great way to try something out before you buy it or rent a specialty item for a specific shoot. Use my affiliate link below. They have discounts for first-time users.
Check out BorrowLenses!Wrap Up
This wraps up my post on gear for low light photography. Please check out the the next two posts on technique and post-production. If you’ve enjoyed this post/series on shooting in low light, please share it! You can also have the whole series now, in a really fancy full color PDF download.
and post production. If you’ve enjoyed this post/series on shooting in low light, please share it! You can also have the whole series now, in a really fancy full color PDF download.
[wd_hustle id=”low-light-guide” type=”embedded”]
Thanks for reading! If you take any images using these techniques, tag the photos with #ZDPphototips. I look forward to seeing what you make!
-Zach

2 Comments