Low Light Photography: Technique
Thanks for checking out my second post on my practices for shooting in low light using only available light. For an introduction to the benefits of available light photography and a review of the type of gear I use to get great shots in low light, be sure to read the first post. This post addresses the specific low light techniques I use while shooting. You can also download the whole guide as a super-sleek, handy-dandy PDF right now by entering your info below.
[wd_hustle id=”low-light-guide” type=”embedded”]
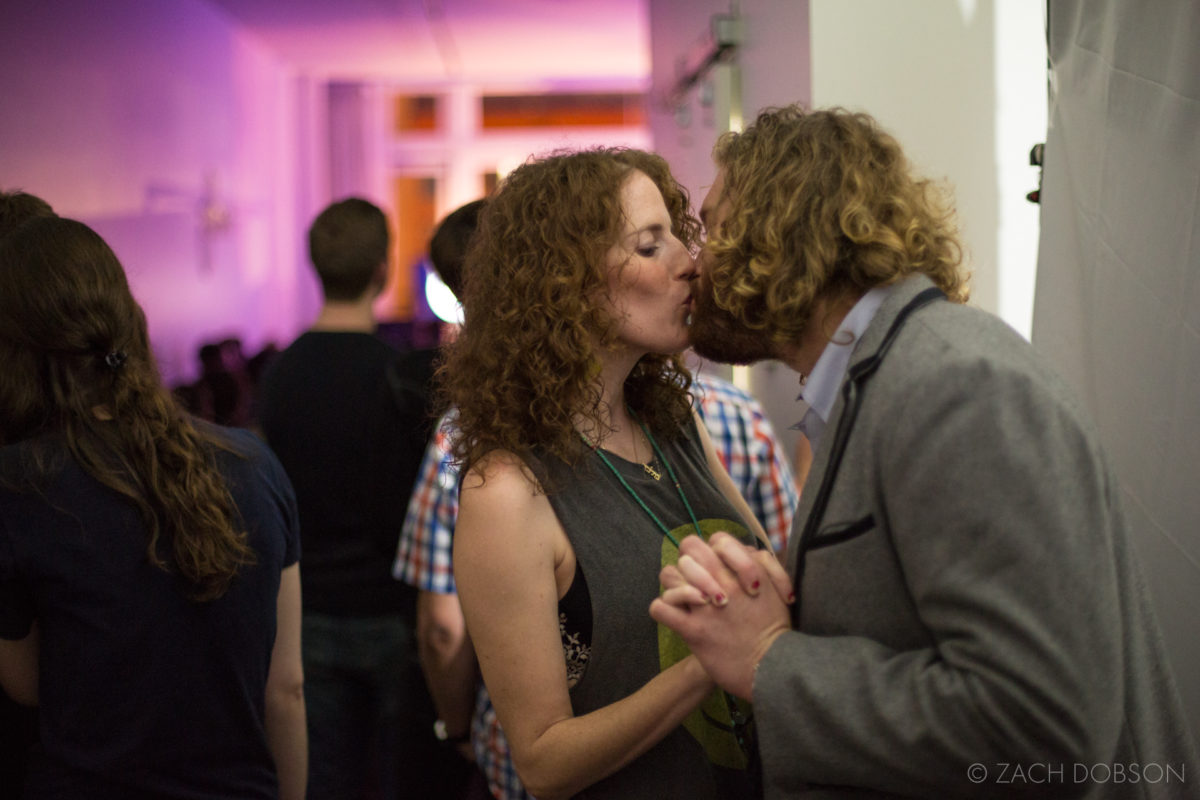
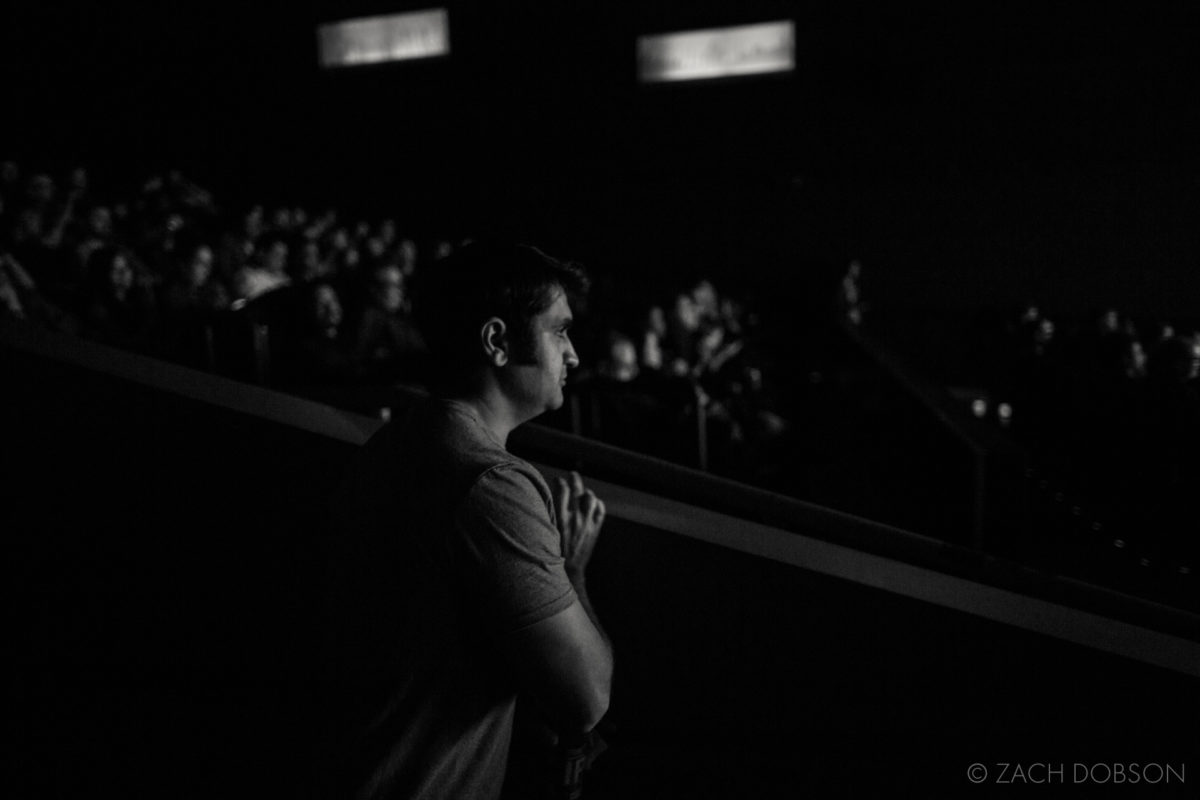
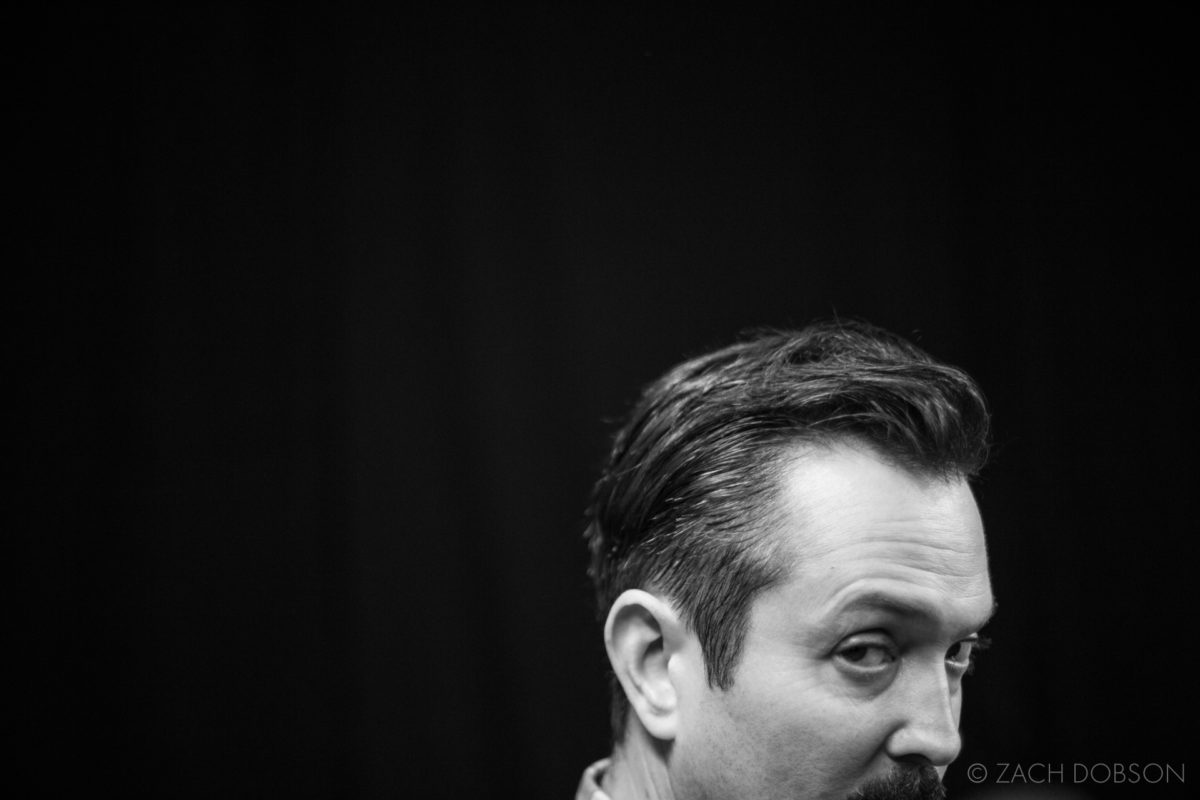
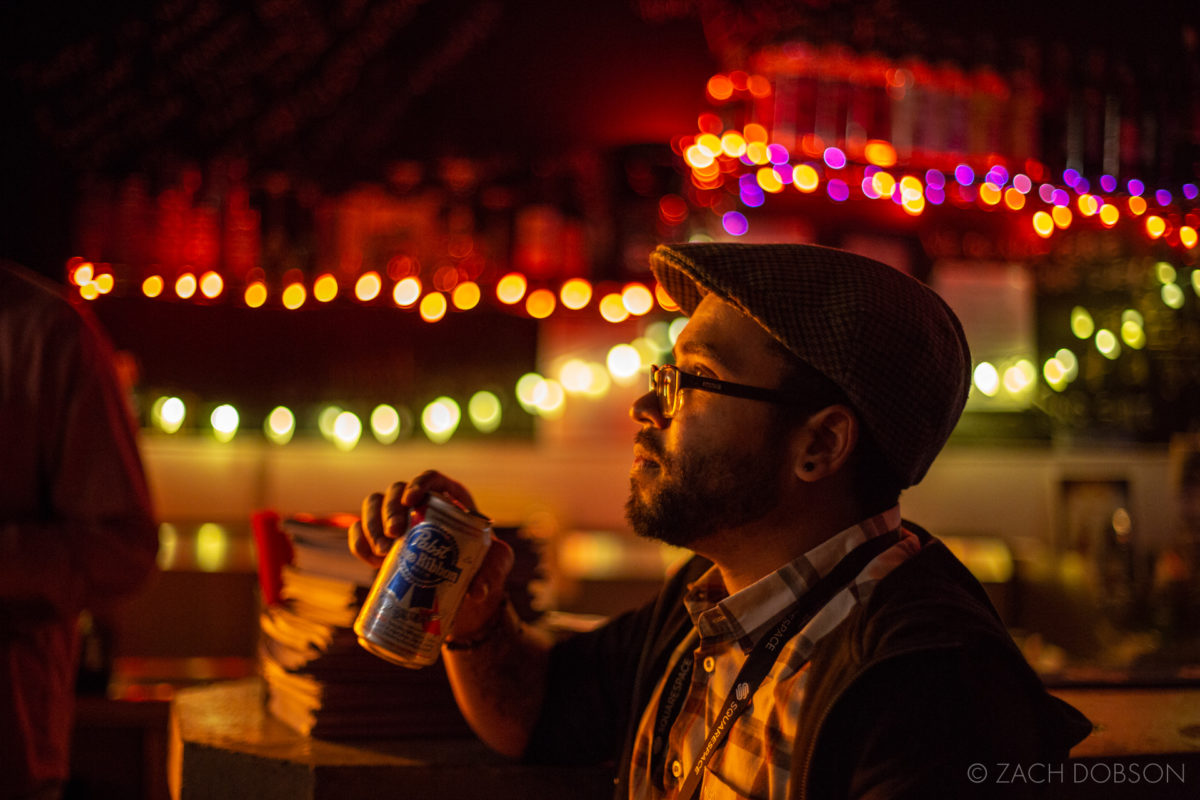
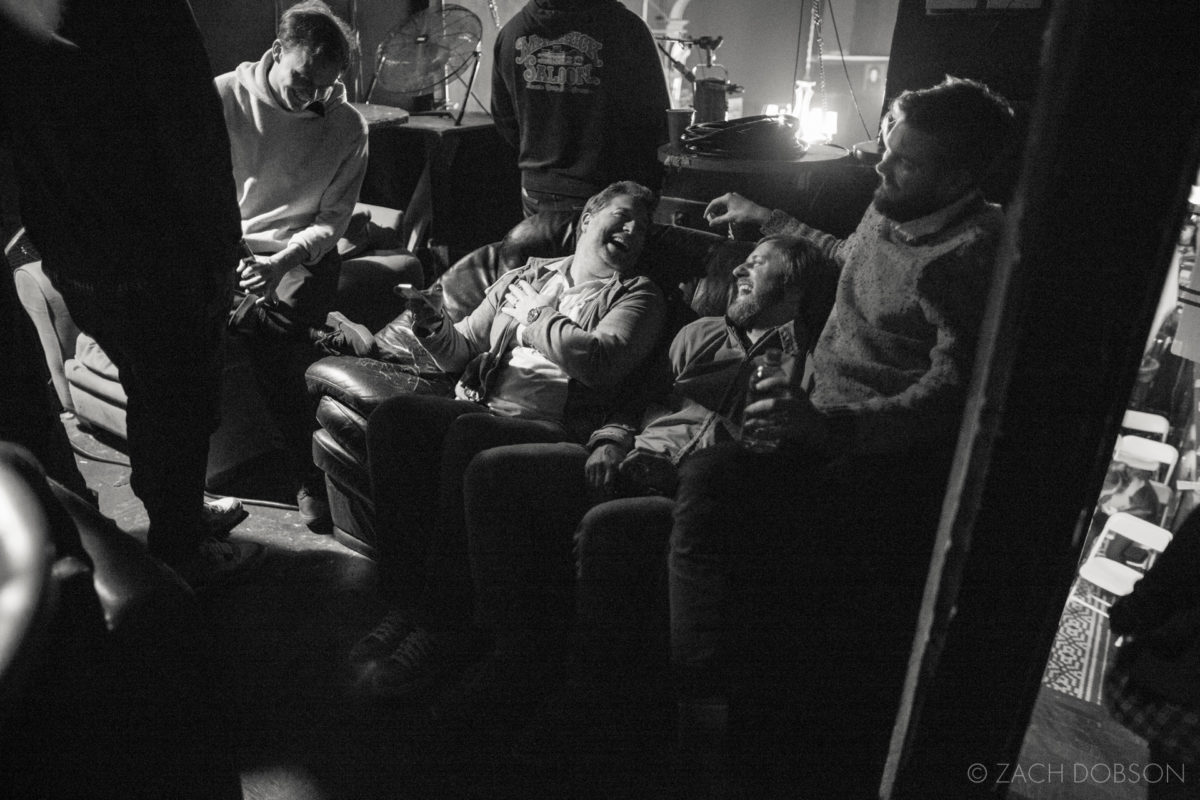
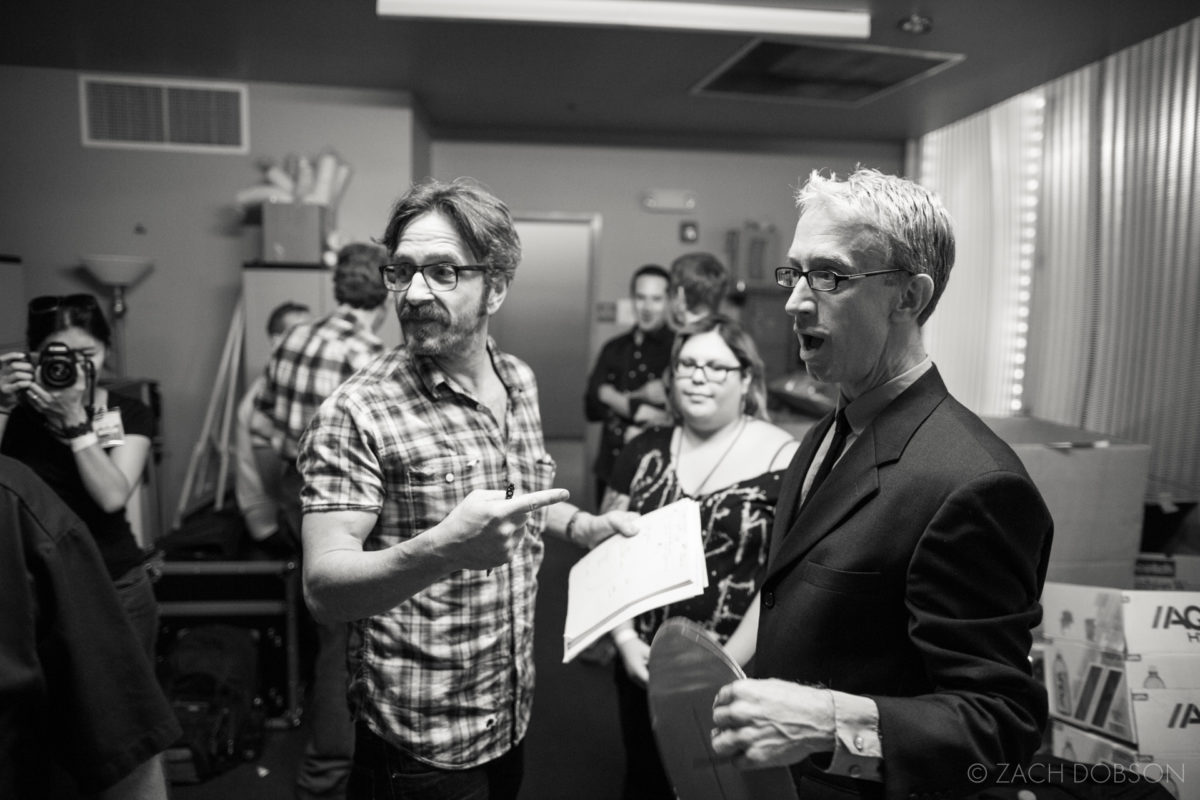
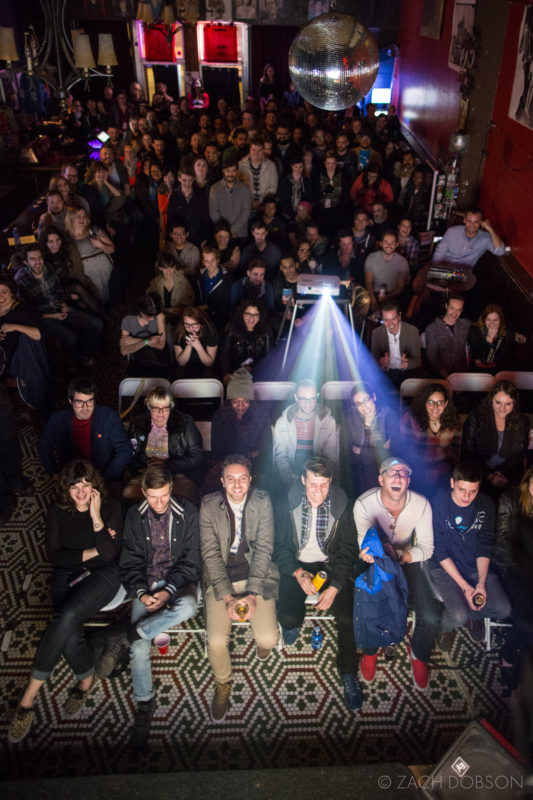
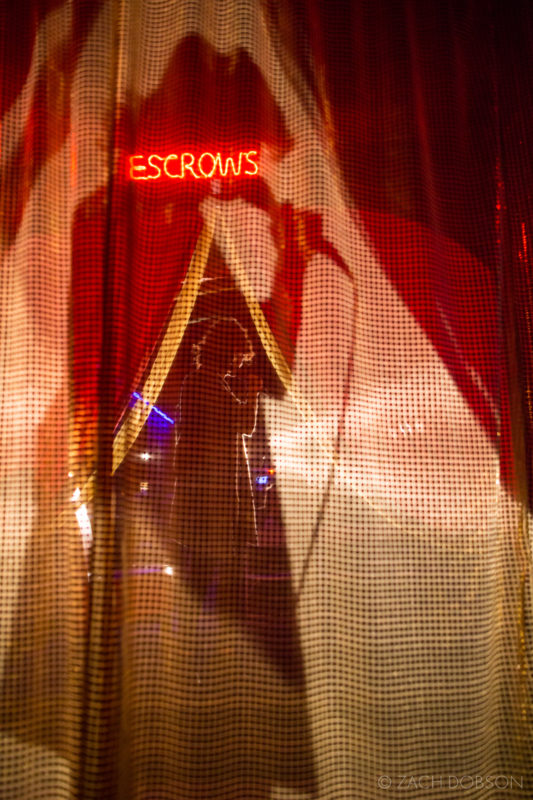
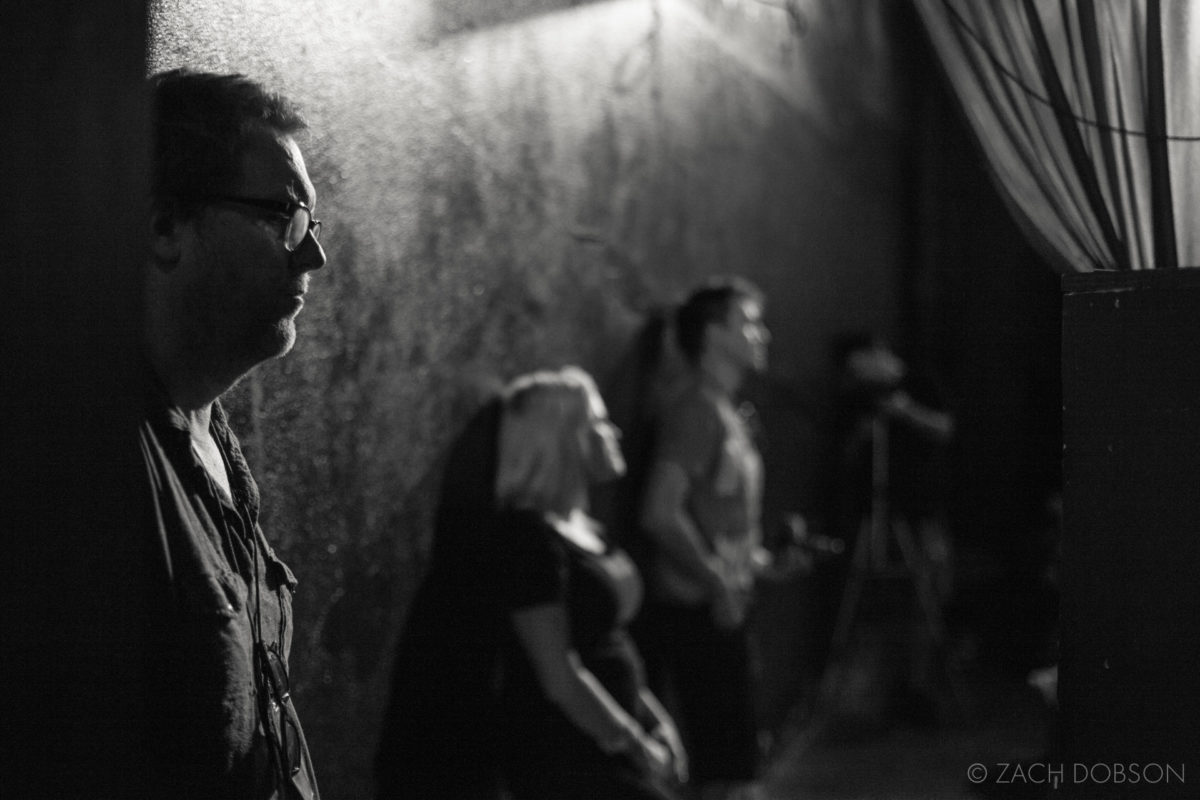
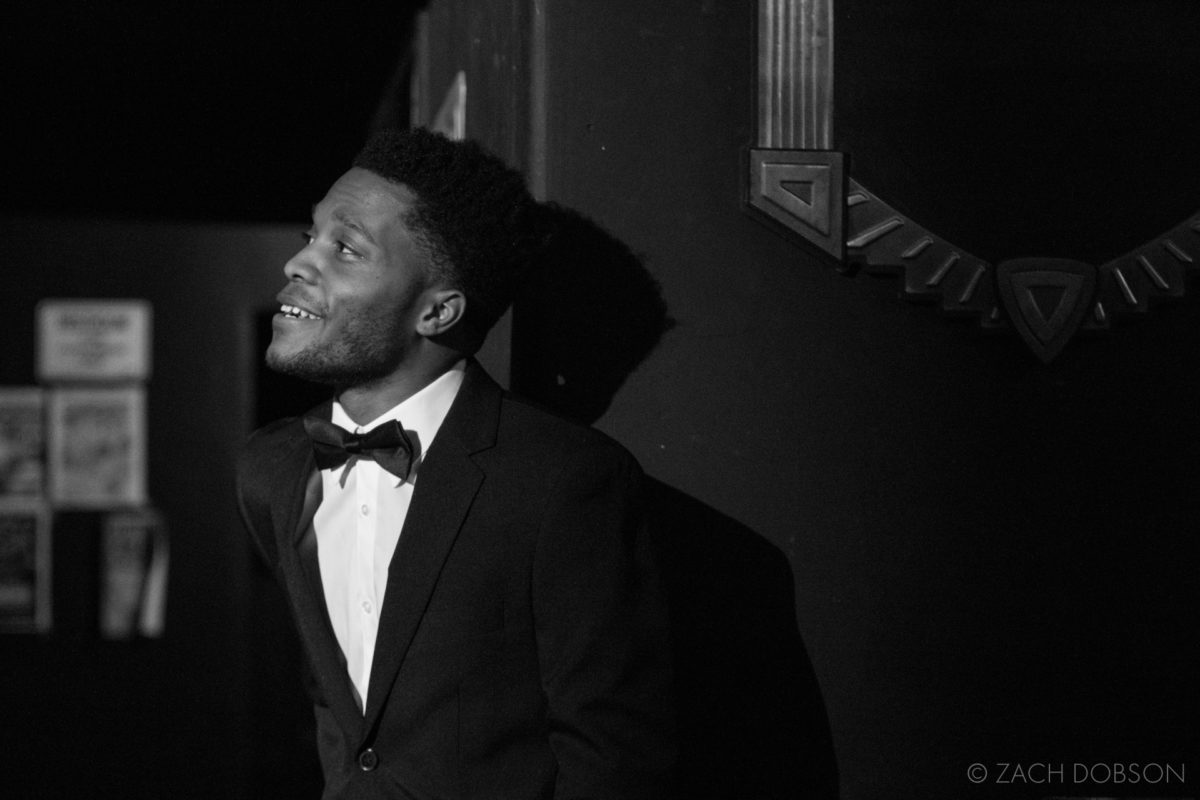
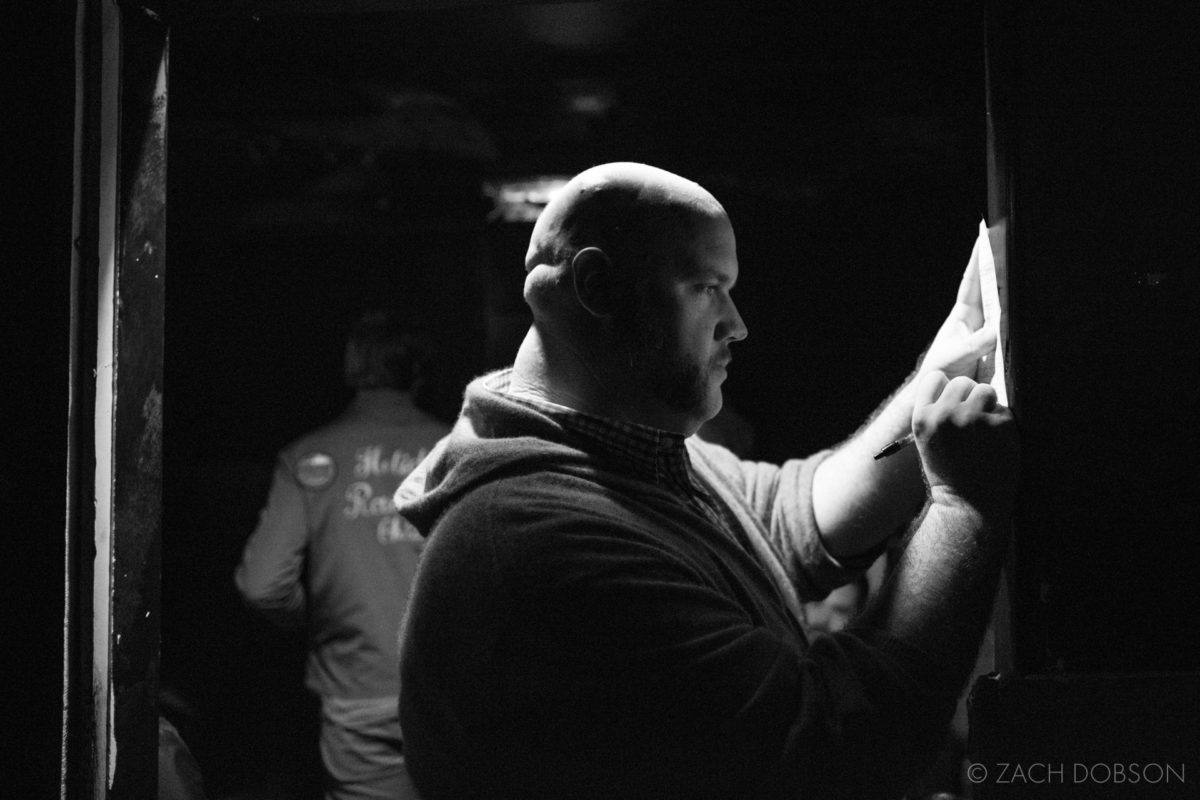
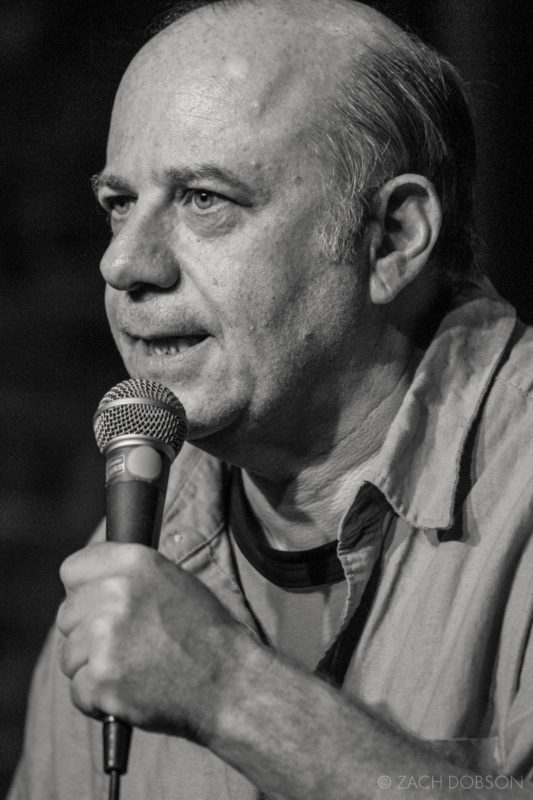
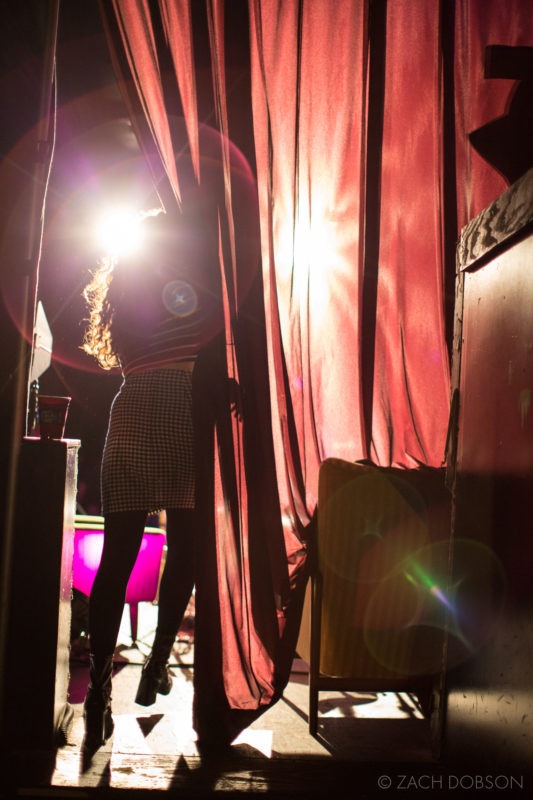
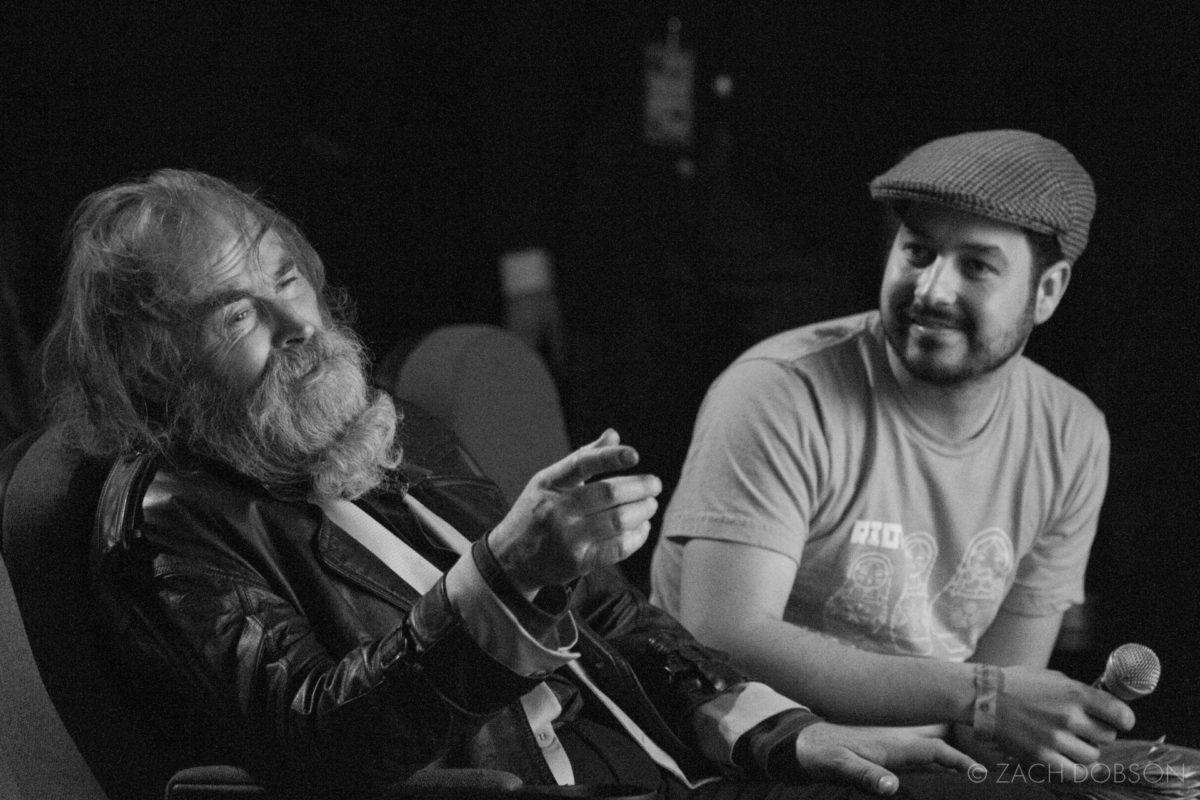
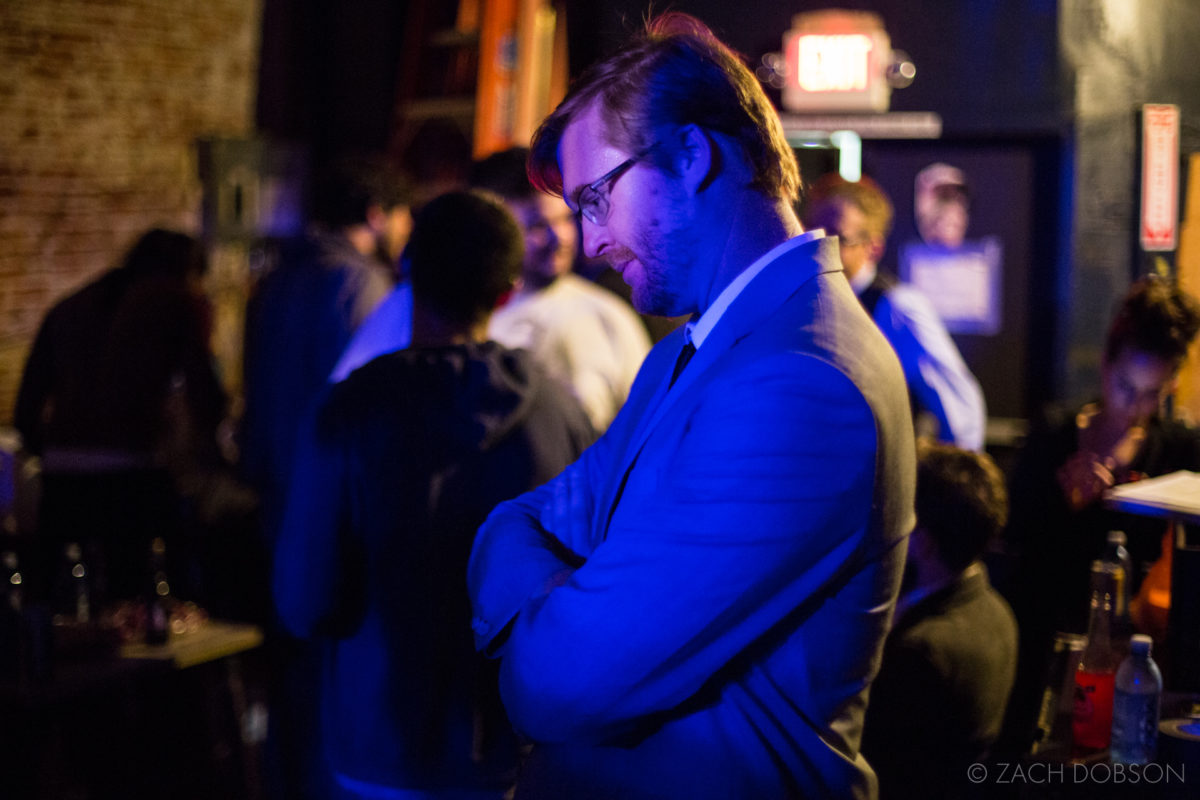
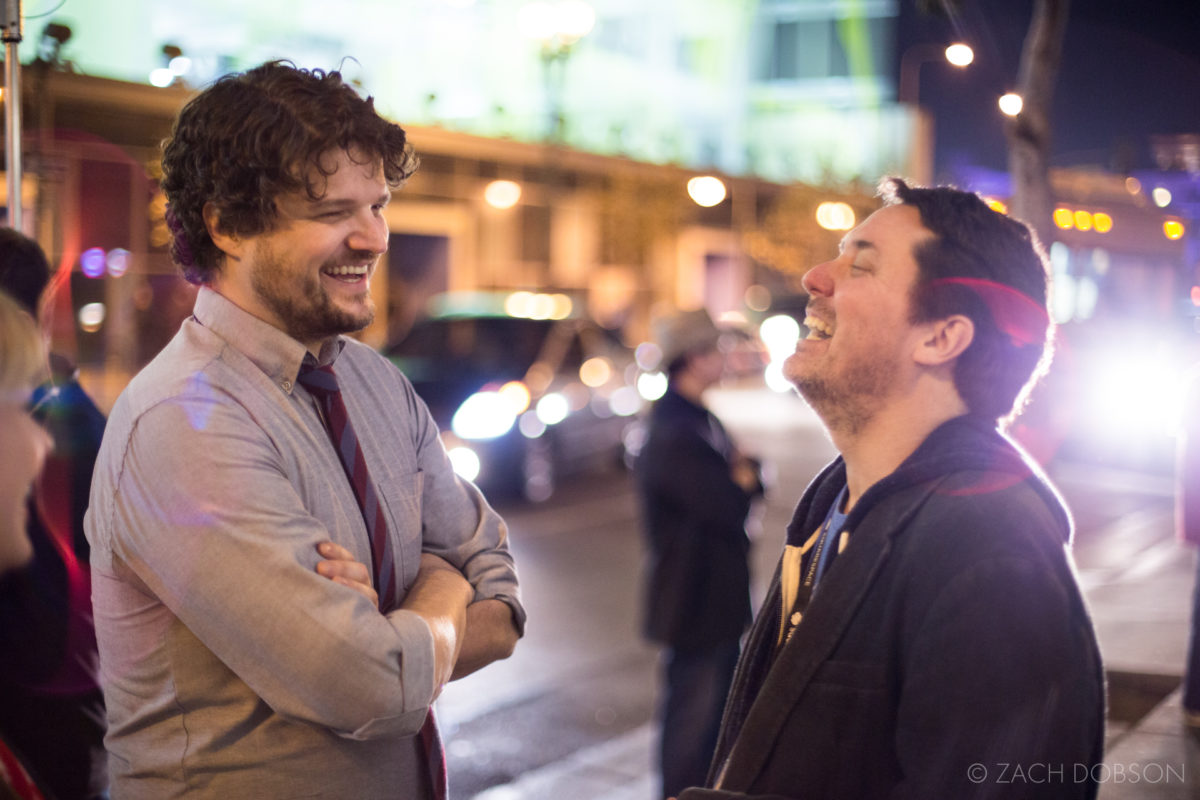
For illustrative purposes, I’ve selected a series of images from the four years I photographed RIOT LA Alternative Comedy Festival because almost the entire festival happened in dark and crowded theaters without natural light.
Camera Settings
Aperture
As mentioned in the first post, I use mostly prime lenses that have a minimum aperture of f/1.4. When shooting in low light I shoot consistently at either f/1.4 or f/2.0. So, since I don’t change my aperture much in these situations, I rely mostly upon changing shutter speed and ISO to get the desired exposure.
Shutter Speed
I usually have a minimum shutter speed in mind when shooting depending on the subject. If a person is standing mostly still engaging in conversation, I find that 1/60 will suffice, although I’ll try to get that up to 1/125 if I can. When the person is more animated, I consider 1/125 my target and adjust the ISO to get the shutter speed higher if needed. Photographing a scene that’s still, I have no problem shooting at 1/15.
Later in this post I will describe some of the techniques I use to increase my yield of sharp images when shooting at slower shutter speeds.

High ISO
Like most photographers, I try to shoot at the lowest ISO I can. For my low light technique, I find my best-case scenario is usually around ISO 800. I’ll regularly shoot at 1600 and even push to 3200 in some circumstances. Occasionally I’ll even go up to 6400, but only when I feel like a grainy image can work stylistically. I recommend taking some test shots in low light at different ISO settings so you can see for yourself where your line is between good and poor image quality.
RAW files
Most pros (myself included) will always shoot RAW images. The fact that these are uncompressed gives you a lot more latitude when making color and tone adjustments in post production (the topic of the next post). If you’re put off by the file sizes of RAW images (which can be 5-10x the size of a JPG), you might want to at least consider switching over to RAW when you’re shooting in very low light.
I also like shooting RAW images because I don’t have to mess with white balance while shooting. I’ll leave my camera set to auto white balance and just adjust it in post. Since the RAW image is uncompressed, adjusting the white balance while editing does not affect the image quality at all.
I address working with RAW images in my next installment in this series: post production.
Underexpose
I don’t fully rely on my light meter when shooting in low light. It’s always going to say that the image is underexposed because in low light, it’s trying to average the entire scene, which is mostly dark. So a part of my low light technique is that I’m actually more concerned with my highlights than shadows. If the highlights are blown out, I can’t get them back when editing. I prefer to shoot on the side of underexposing the highlights. Then I know they’re there for me to bring out in post-production.
The other benefit of underexposing is I can shoot at higher shutter speeds and minimize unwanted motion blur. For example, if I spot-meter on a subject and the shutter speed is coming out to 1/15, I might shoot that at 1/30. Then I don’t have to worry about motion blur or camera shake as much. However, I make sure not to underexpose too much because there will be too much noise (digital artifacts) in the shadows/blacks of an image when I adjust the exposure in post-production.
It can be a fine line to walk, but the more I shoot, the better I know where the balance is between a sharp image, good exposure and image quality.
Light Sources
No matter where you’re shooting there’s a light source of some sort. If you’re trying to shoot in pitch black, you have bigger issues than I can address here. The first thing I look to identify, whether I’m shooting with my low light technique or at high noon, is where my light is coming from and how I can use what’s available most effectively.
In a dark space, I like to camp out near the light source and see what kind of activity is happening nearby. I look for people who are talking together near a light and then focus on the person whose face is most clearly lit. If several people are in decent light, then I look to see who I can frame up in the most interesting way or who is speaking in with more facial expressions or animation. I’ll also step away from the light source and see if there is an interesting silhouette that can be made or just a different angle I can get by changing positions.
Keep it Sharp
In order for me to consider an image a “keeper”, SOMETHING in it needs to be in focus. On some occasions a moment may have really cool action or life and it’s not 100% sharp, but for my work that’s the exception rather than the rule.
Here are a few pointers on how I get a higher number of sharp photos utilizing my low light technique.
Camera Shake
There’s a photography rule of thumb for avoiding blur from camera shake (caused by the way your body/hands move naturally when you’re just standing still): Keep your shutter speed equal to or greater than the focal length of your lens.
Huh?
That just means if you’re shooting a 100mm lens, you want to keep your shutter speed at or above 1/100. For a 50mm lens, keep it at or above 1/50. At any slower speed you risk getting blurry images from camera shake (this differs from motion blur, which refers to the movement of the subject). A lens with image stabilization has more latitude, but typically prime lenses don’t have stabilization.
Brace yourself
A simple, yet highly effective technique is to just find something nearby to steady yourself and/or brace your camera against: a wall, chair, table, post, floor, bar top, etc. If I need a little bit of stability (like shooting a wider lens around 1/15), I’ll do something like lean against a wall or doorway. When I’m shooting slower than that, I’ll look for something I can wedge the camera itself against like a post, chair or tabletop.
You might think I’m a real dummy here, because I could just use a tripod. Nope! Can’t do it. Tripods slow me down significantly, are difficult to carry around and take up a lot of space. It is important to me to be able to work in low light in the same manner I approach any of my shoots, which is why I started using these techniques.
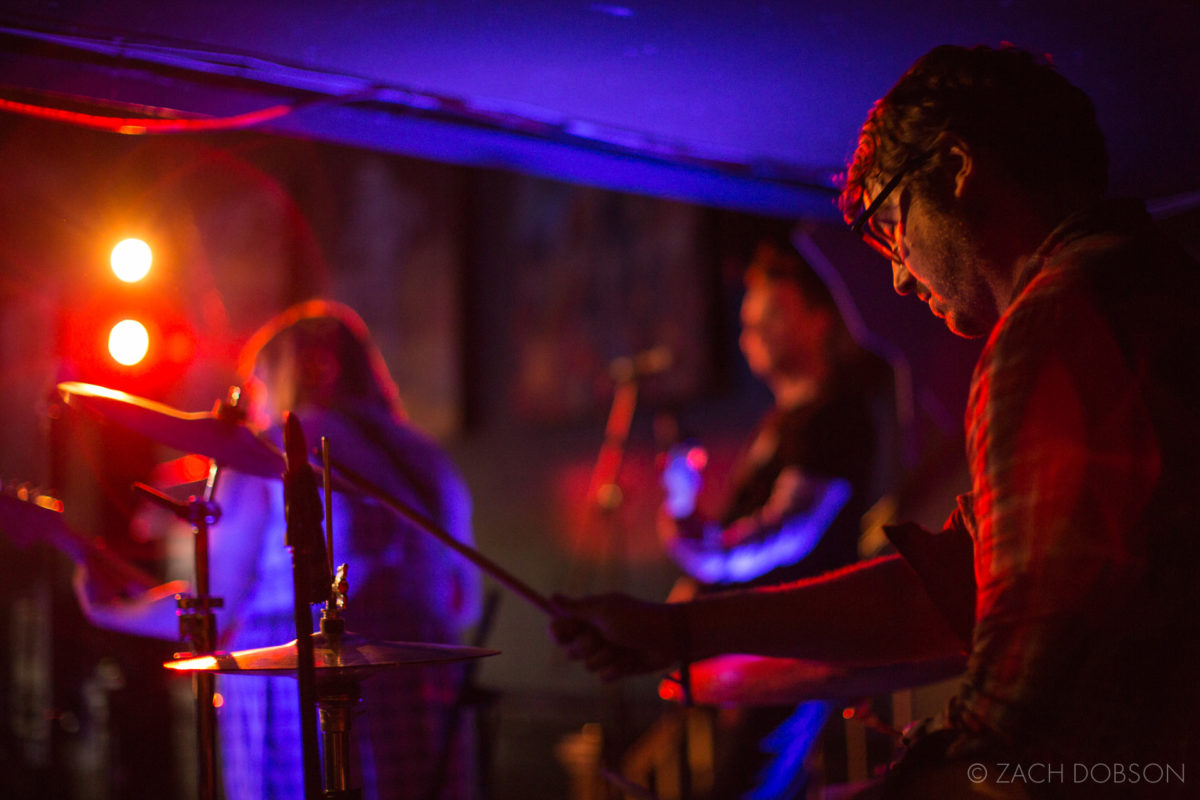
Shoot in bursts
When I used to shoot film (pre-2004), I was very precious with it. I didn’t have much money and only had a certain amount of film to shoot, so I didn’t shoot a lot of frames. Even after switching totally to digital, it took a bit of prodding from an early photo editor of mine to start shooting more frames. As a result, no matter what I shoot, in any level of light, I take 2-3 frames in a burst each time I press the shutter. This greatly increases my number of usable images.
I think this is especially important in low light, because when I’m shooting at slower shutter speeds, the natural movements of subjects can easily blur an image. The higher I feel the risk is going to be of getting motion blur I don’t want, the more images I’ll take in a burst. If I’m at 1/15 taking photos of a person talking animatedly, I’ll take 7-8 consecutive shots. When I’m taking a wide angle of a scene with many people moving around, and I have the camera resting on the ground, I’ll shoot 10-12 frames in a row. That gives me a lot to work with when I’m editing. I only need one of those frames to turn out.
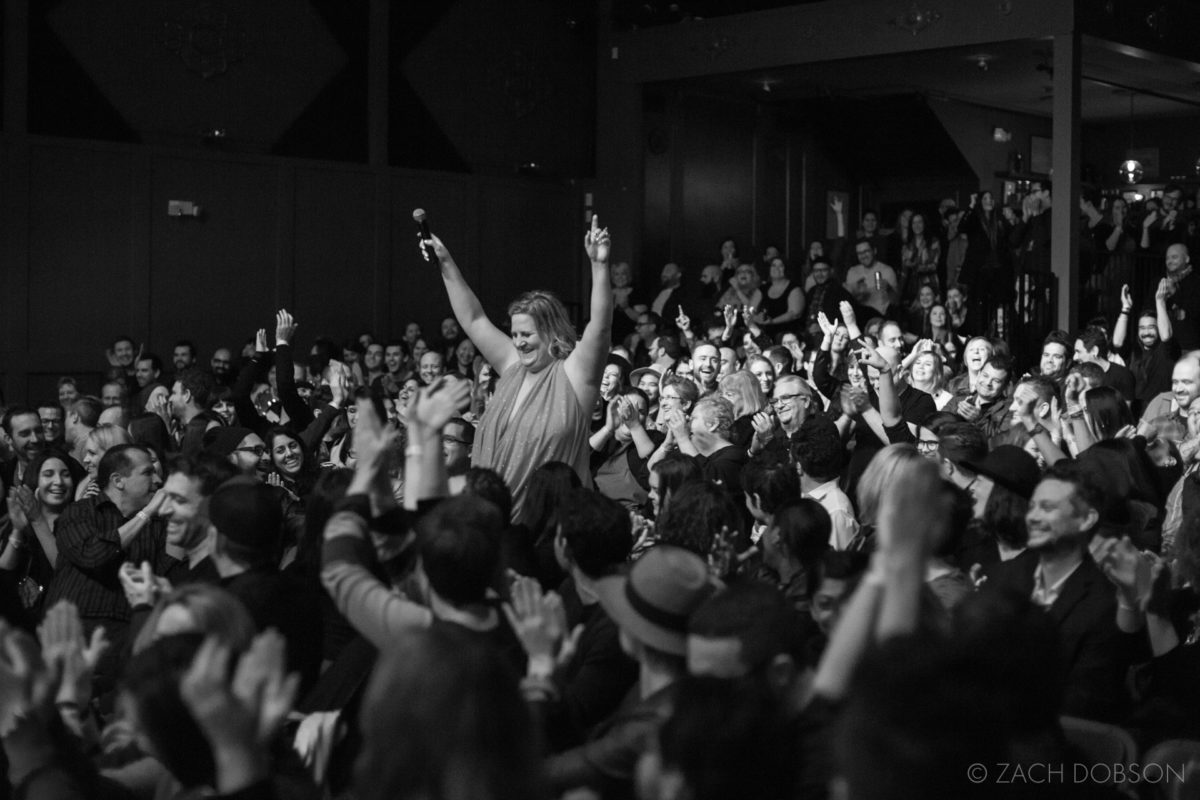
Using Live View
When I first bought a DSLR that could shoot in live view (using the LCD screen as a viewfinder), I thought, I was NEVER going to use it; it’s amateur stuff. Wrong! Shooting in live view in low light situations took my available light photography to another level.
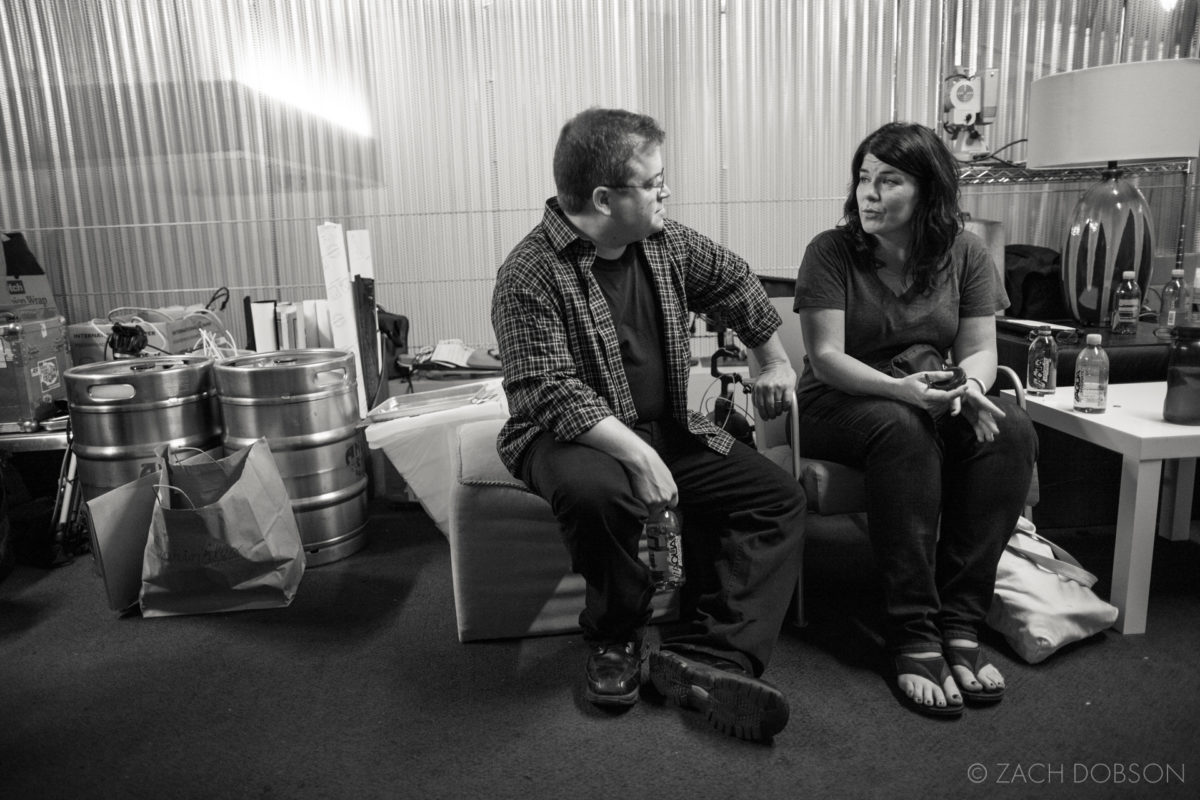
Exposure Preview
Live view has two main features that I use: exposure preview and electronic zoom. Prior to having exposure preview, in low light I would use spot-metering to get a light reading of the subject, take a photo, and then review the resulting image. Now I can just see immediately on the screen how the exposure changes as I adjust the camera settings and know I’m getting the result I want before even pressing the shutter release. When using my mirrorless Fujifilm camera, I’m always shooting in “live view” because even the viewfinder is an LCD screen. I’m not looking physically through the lens like on my Canon DSLR.
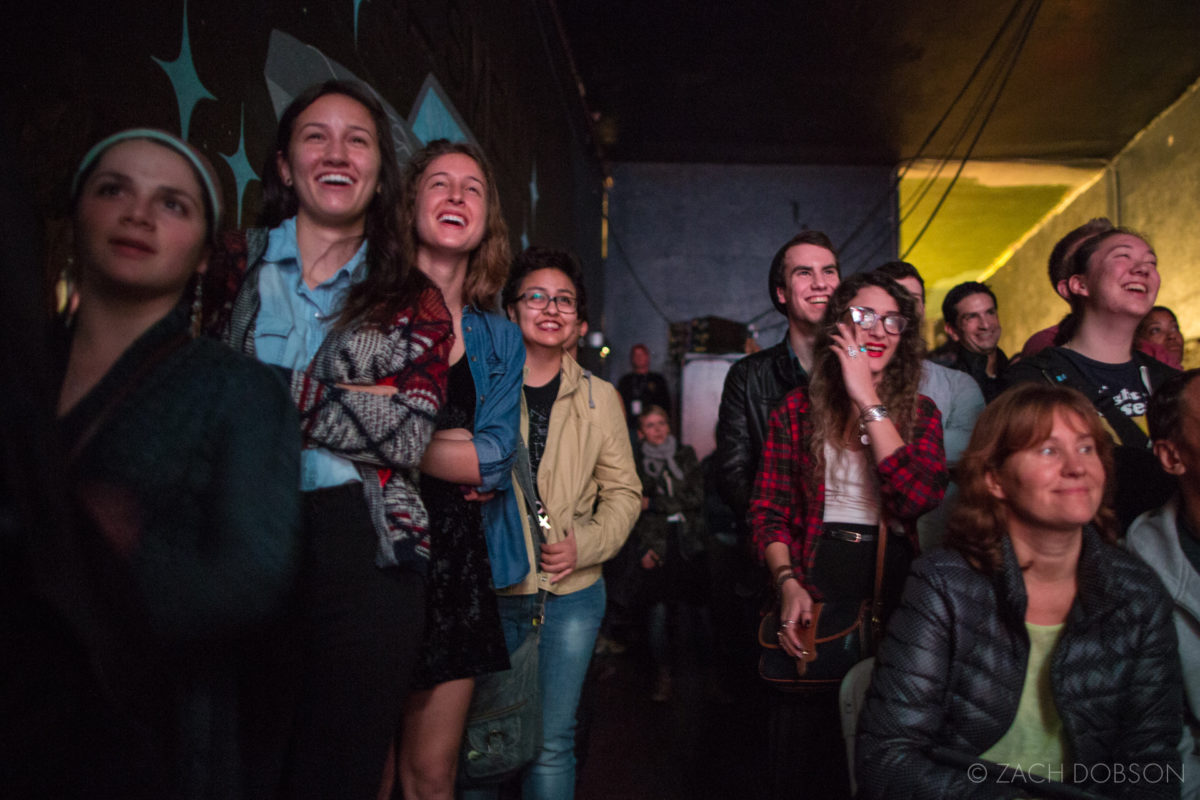
Improve Focus
When using autofocus on a DSLR, if the light gets too low, it just can’t get a read on anything. I learned to combat this by using live view to improve focus. By using the exposure preview feature, I can essentially see in the dark. I would set the exposure much brighter than I wanted, giving the autofocus something to grab onto, and then return the exposure to the desired level and start shooting. Camera manufacturers got wise to this practice and now many cameras do this automatically. When shooting in live view in the dark, if the camera can’t focus, the screen will brighten, the camera will focus, and the exposure on screen will return to normal, all automatically. Pretty cool.
Digital Zoom
Many cameras also give the option to digitally zoom when in live view mode. To be clear, this doesn’t zoom the final image; it just allows you to see a section of the frame closer up in live view. I frequently use this feature in my low light technique to make sure the focus is exactly where I want it to be. Sometimes the method described in the previous paragraph isn’t perfect, so I’ll digitally zoom in live view mode and try autofocus again. If autofocus isn’t exactly where I want it to be at that point, I focus manually and zoom back out to get the image. When I need to act quickly, I can shoot a burst of images even while zoomed in on the LCD screen because it’s actually taking the full frame image.
Wrap Up
This concludes the post on my low light technique I employ while shooting. Check out the first post for an introduction to the topic and gear info. The next post is about post-production. Get the whole series in one download, here. Have anything to add to this discussion? I’d love to hear it! And if you have any questions, leave them in the comments and I’ll be sure to answer them soon. You can also have the whole series now, in a really fancy full color PDF download.
[wd_hustle id=”low-light-guide” type=”embedded”]
Thanks! If you take any images using these techniques, tag the photos with #ZDPphototips. I look forward to checking them out!
-Zach

2 Comments